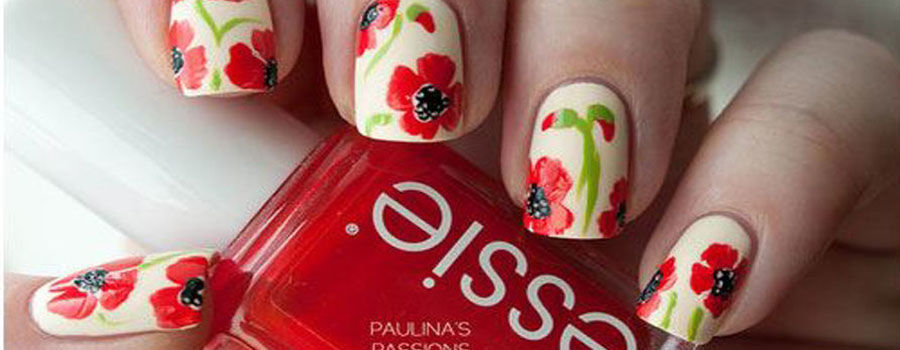
Celebrate spring with flowers! Where there are flowers, there are colors and where there are colors, there are nail polish bottles. Sounds fair enough? There is no justice to spring season without the juxtaposing of colors around you. This time make sure your nails get the flavor of the fresh spring season too! With all the colorful periwinkle blooming in your garden, paint some on your glossy nails too. While you do some gardening and visit a spring festival, don’t forget to get this floral periwinkle nail art done on your nails first!
Full Periwinkle Nail Art:
You’ll be needing thin nail art brushes for this one, especially the detail nail art brush. The white base has made the overall appearance of periwinkles bright and striking.
STEPS:
- Start with the application of clear protective base coat.
- Select the nail colors you’d like to use. Here, a creamy white nail color is used as base nail color and red, black and green nail colors to paint periwinkles.
- Apply creamy white nail polish on your nails. For a more fancy finish, apply two coats.
- With the help of striper brush, draw two or three small ambiguous (cloud-shaped) dots on each fingernail. Paint in tiny dots with white nail color. (refer to the picture)
- Using a detail brush with a freehand paint the petals. Put on small single strokes to make a complete blooming flower. (mimic from the picture given)
- Use a detail brush again to paint the stems with parrot green nail polish.
- Finish off with a top coat.
Now you’ll see a bunch of blooming periwinkles on the nails of your very own pretty hands. The red periwinkles look beautiful! Purple and pink periwinkles would look great too. Try this sometime on your toenails too! Time for some floral touch!


