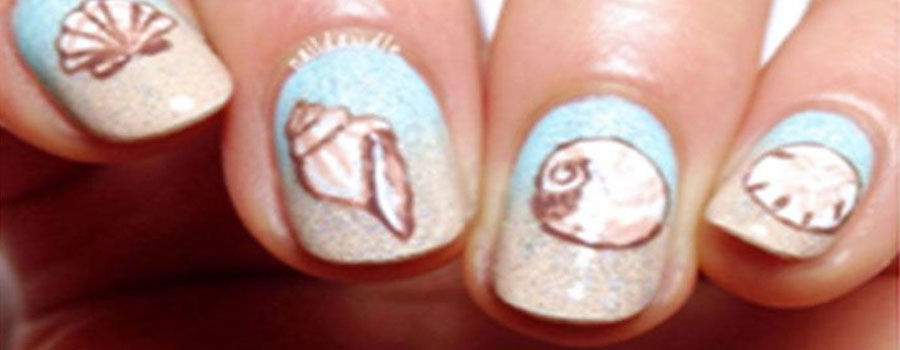
Having a fun day at the beach, taking a sunbath and diving into the waves of the ocean, it’s simply wonderful. In addition to all of this, most of us are in habit of collecting the beautiful seashells too! And not just that, who doesn’t like to sit down in the backyard and do oil painting on the seashells? Just like that, you can do a really cute seashell nail art on your beloved nails! Read on to find out an adsorbs seashell nail art step-to-step guide:
Full Seashell Nail Art:
The color scheme used gives the perfect oceanic vibes; soft and calming, but you can always make changes in it as per your wish.
STEPS:
- For this one, apply a clear base coat on each fingernail.
- While it dries, grab a sponge and a sky blue and nude nail color.
- Paint a single coat of sky blue nail color on the nails.
- After it dries up, use a small amount of nude nail color with the help of sponge to dab on the ends of the nails such that it appears as a gradient.
- Before it dries, dust the nails with silver glitter and immediately apply a clear base coat on the nails again to solidify the gradient effect.
- With the help of a striper brush and white nail color draw sea shells of different kinds on each fingernail. (refer to the picture)
- Add an outline to each sea shell design with brown nail color.
- Finish off with a top coat!
If you have to go collect some sea shells, make sure you do your seashell nail art homework a day before. You’ll need a lot of patience to draw the seashells, so don’t be in a rush. With practice, you’ll get better at drawing the cute shells. Have a good time collecting and painting seashells!


