ENGLISH: 800-928-4331
VIETNAMESE: 800-640-5888
Menu
Search
Personal menu
ENGLISH: 800-928-4331
VIETNAMESE: 800-640-5888
English
Tiếng Việt
English
English
Tiếng Việt
Search store
Close
All
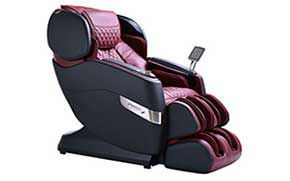
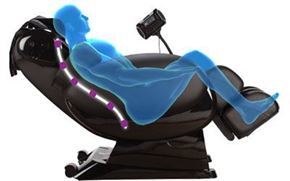
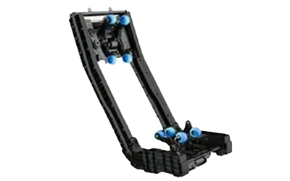
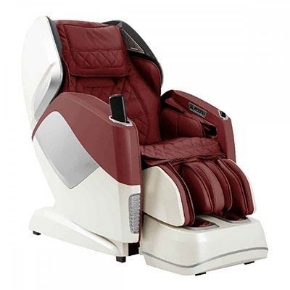
Massage Chairs
Karaoke
Healing Jewelry
Christmas & New Year Sale
Search
My account
My account
Close
Register
Log in
Shopping cart
Close
0
$0.00
You have no items in your shopping cart.
All Categories
Menu
Close
Massage Chairs
3D Massage Chairs
4D Massage Chairs
S-Track Massage Chairs
L-Track Massage Chairs
Duo Massage Chairs
AI Massage Chairs
All Massage Chairs
Personal Massagers
Body Slimmer Machines
Recliners
Karaoke
Karaoke Sets
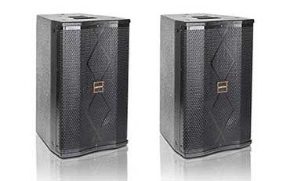
Karaoke Speakers
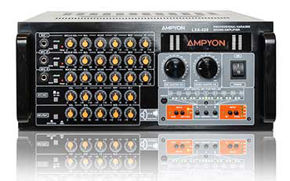
Mixing Amplifiers
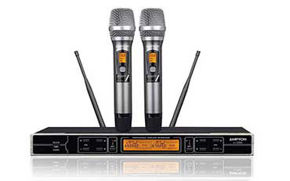
Wireless Microphones
Portable Karaoke Speakers
Clearance - Open Box
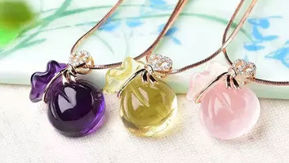
Healing Jewelry
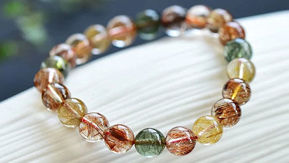
Healing Bracelets
All Bracelets
Charm Stone Bracelets
Agarwood Bracelets
Stone Bracelets
Women Bracelets
Men Bracelets
Kids Bracelets
Healing Necklaces
Women Necklaces
Men Necklaces
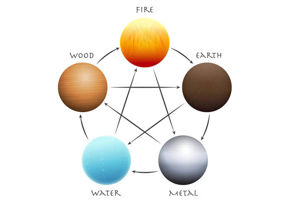
Feng Shui Elements
Metal Element
Wood Element
Water Element
Fire Element
Earth Element
My Account
Cart
Contact Us
Recently Viewed Products
Blogs & News
All Categories
Back
Massage Chairs
Back
3D Massage Chairs
4D Massage Chairs
S-Track Massage Chairs
L-Track Massage Chairs
Duo Massage Chairs
AI Massage Chairs
All Massage Chairs
Personal Massagers
Body Slimmer Machines
Recliners
Karaoke
Back
Karaoke Sets
Karaoke Speakers
Mixing Amplifiers
Wireless Microphones
Portable Karaoke Speakers
Clearance - Open Box
Healing Jewelry
Back
Healing Bracelets
Back
All Bracelets
Charm Stone Bracelets
Agarwood Bracelets
Stone Bracelets
Women Bracelets
Men Bracelets
Kids Bracelets
Healing Necklaces
Back
Women Necklaces
Men Necklaces
Feng Shui Elements
Back
Metal Element
Wood Element
Water Element
Fire Element
Earth Element
My Account
Cart
Contact Us
Recently Viewed Products
Blogs & News
RSS
Blog
Previous
1
2
Blog archive
2023
September (2)
2019
March (1)
February (3)
January (3)
2018
December (4)
February (1)
2017
November (1)
Finance