
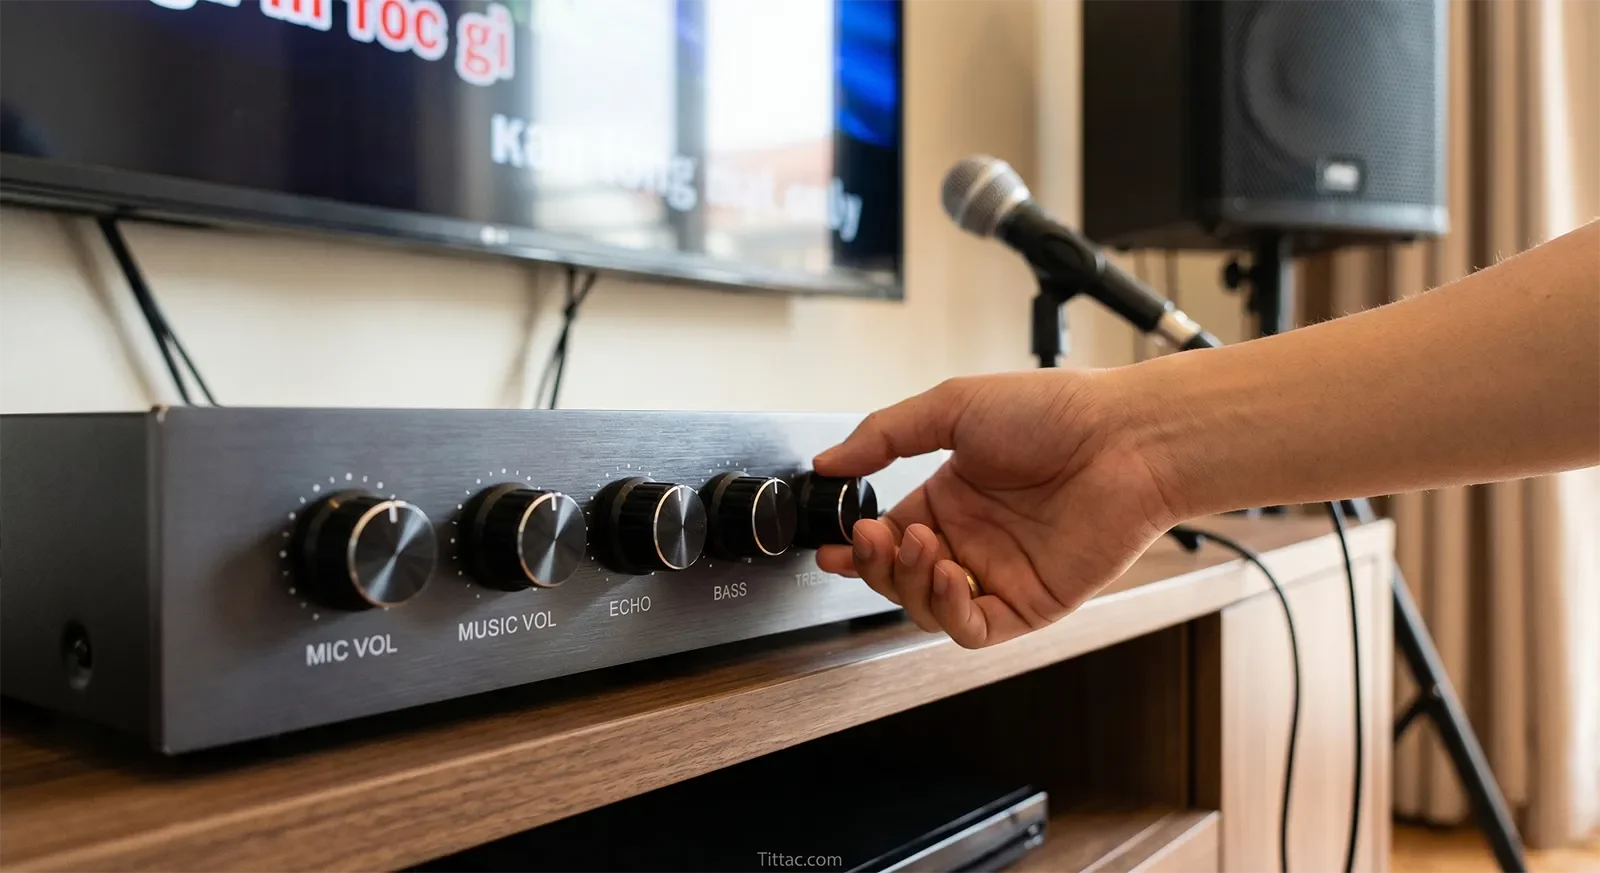
Mic volume, music volume, echo, bass, and treble do not fix the same karaoke problem. Mic volume changes vocal placement, music volume changes the backing-track foundation, echo changes vocal support, bass changes low-end weight, and treble changes clarity and edge.
Who this guide is for: Home karaoke users who see the same common controls on their system but want to understand what each one actually changes before adjusting by guesswork.
How this guide was prepared: This guide was written around real home karaoke behavior: what each control changes first, what too much or too little sounds like, and how to listen in a practical order without turning every song into a tuning experiment.
Many home karaoke users see the same familiar controls over and over: mic volume, music volume, echo, bass, and treble. The problem is that these labels look simple, but the sound changes behind them are not always obvious. That is why people often turn the wrong knob for the wrong reason.
They want a clearer vocal, but add more treble. They want a fuller sound, but push bass too far. They want better balance, but raise echo. In real home karaoke, these controls work best when you understand what each one changes first. For broader plain-English context around how technical audio ideas affect home singing, see our Karaoke Technical Guides.
Quick Answer
In home karaoke, mic volume controls how strongly the voice sits against the track, music volume controls the backing track’s foundation in the room, echo controls how supported or smeared the vocal feels, bass controls weight and low-end buildup, and treble controls clarity, edge, and feedback sensitivity. These controls should not be used as interchangeable fixes. If the singer is buried, start with vocal-to-music balance before reaching for EQ. If the mix feels muddy, check echo and bass before blaming mic volume. The safest approach is to adjust in a listening order: music foundation first, vocal placement second, echo support third, bass and treble last.

Table of Contents
What each karaoke control changes first
Mic volume changes how strongly the singer enters the mix. In plain English, it controls whether the voice feels buried, natural, or too far forward. It is mainly a vocal placement control, not a tone control.
Music volume changes the backing track’s overall presence in the room. It affects energy and fullness, but it also changes how much space the vocal has to sit against the track. If music volume is too high, the singer often seems weak even when the microphone itself is not the real problem.
Echo changes how supported or exposed the vocal feels. A little echo can make singing feel smoother and more forgiving. Too much echo turns the voice blurry, pushes it farther away, and makes lyrics harder to follow.
Bass changes weight, warmth, and low-end buildup. It can make music feel fuller, but it can also crowd the room and reduce vocal clarity if pushed too far.
Treble changes edge, articulation, and perceived detail. A little treble can help words feel easier to follow. Too much treble can make the system sharp, tiring, and more feedback-prone.
The reason people struggle with these controls is that they react to what they hear without separating the type of problem first. If the singer disappears into the music, the next useful topic is How to Balance Music and Vocals in Karaoke, because balance problems often get mistaken for tone problems.
The safest starting point for most homes
The safest starting point is restrained. In most home karaoke rooms, moderate music volume, a clearly present but not oversized vocal, light echo, controlled bass, and calm treble give you the best reference before making finer adjustments.
This matters because home rooms already add their own sound. Tile floors, glass surfaces, bright walls, low ceilings, furniture, and compact living rooms can make a system feel heavier or sharper than the control positions suggest. Starting aggressively usually makes people chase one mistake with another.
A safer starting point sounds believable before it sounds impressive. The music should feel comfortable, the vocal should be readable, the echo should support without smearing, the bass should add body without boom, and the treble should add clarity without bite.
Once that base feels stable, each small adjustment becomes easier to interpret. You can hear what changed instead of wondering whether the system improved or simply became louder, brighter, or more dramatic.
How to adjust by listening, not guessing
The easiest way to understand these controls is to listen in layers. Start with the relationship between music volume and mic volume. Ask one question first: can you follow the singer without the vocal feeling pasted on top of the track?
If the answer is no, the problem is usually balance before anything else. Raising treble may make the voice seem sharper for a moment, but it will not fix a vocal that never sat correctly against the music in the first place.
Then listen to echo. Ask whether it supports the voice or starts drawing attention to itself. In good home karaoke, echo should make the vocal feel slightly easier and smoother. It should not make the singer sound distant, cloudy, or delayed behind the music.
After that, listen to bass and treble as room-shaping controls. Bass should add body without making the room heavy. Treble should improve intelligibility without making the mix edgy. If those tone decisions still feel unclear after the basic balance is right, continue with Advanced EQ Tips for Karaoke That Actually Help at Home.
The practical rule is simple: do not use tone controls to solve a placement problem, and do not use echo to hide a vocal that never sat correctly in the mix.
What too much or too little sounds like
When mic volume is too low, the singer feels covered by the track and often starts pushing harder just to stay present. When mic volume is too high, the vocal jumps out unnaturally, feels shouty, and becomes harder to keep comfortable over time.
When music volume is too low, the system loses energy and the vocal can feel exposed in the wrong way. When music volume is too high, the backing track takes over the room and forces the singer to fight for space.
When echo is too low, the voice may feel dry, flat, or unforgiving. When echo is too high, words smear together and the vocal seems farther away than the music.
When bass is too low, the track can feel thin and under-supported. When bass is too high, the room becomes boomy, the mix slows down, and the vocal starts losing separation.
When treble is too low, the sound can feel dull or veiled. When treble is too high, consonants become sharp, the mix gets tiring, and feedback risk rises faster than many home users expect.
The common thread is that each control should make the system easier to sing through, not just more dramatic for a few seconds. Home karaoke usually sounds better when the controls feel calm and believable rather than impressive in isolation.
A reusable listening order for home karaoke
A simple listening order keeps these controls from turning into random guesswork. Use one familiar song at normal home volume. First, listen to the music alone and decide whether the room feels comfortable, not heavy or sharp.

Second, bring in the vocal and judge whether the singer sits clearly against the track without sounding detached. This is where mic volume and music volume need to work together, not against each other.
Third, listen to echo. Add or reduce it based on whether the vocal feels too dry, too exposed, or too blurry. The goal is support, not a large special effect.
Fourth, listen to bass. Keep enough low-end weight for the music to feel full, but avoid the point where the room starts booming or the vocal loses separation.
Fifth, listen to treble. Add enough clarity for words to feel clean, but stop before the system becomes sharp, thin, or feedback-sensitive.
This order works because it follows the way the ear experiences karaoke at home: foundation first, vocal placement second, support third, tone shape last. If you change all five controls at once, you learn very little. If you change them in order, each control becomes easier to understand.
Common mistakes with karaoke controls
The first common mistake is using echo as a fix for weak singing or poor balance. Echo can make the voice feel more forgiving, but it cannot replace a vocal that is properly placed against the music. Too much echo usually makes the mix less clear, not more professional.
The second mistake is using treble as a shortcut for clarity. More treble can make details jump forward quickly, but it can also make the system harsh and easier to feedback. Real clarity should remain comfortable after several songs, not only sound exciting for the first few seconds.
The third mistake is adding bass because the system feels small, even when the room is already overloaded. Bass can add warmth and weight, but too much low-end buildup can make the vocal harder to understand and make the whole mix feel slower.
The fourth mistake is treating mic volume as the answer to every vocal problem. If the singer feels unclear, the issue could be balance, echo, room buildup, treble sharpness, mic technique, or song density. Raising the mic is sometimes correct, but it should not be the only move.
The best home karaoke adjustments are small and intentional. Each control should answer a specific listening problem. If you cannot describe what you are trying to fix, the better move is to listen again before turning another knob.
Conclusion
Mic volume, music volume, echo, bass, and treble are not just knobs to turn until the system feels exciting. Each one changes a different part of karaoke behavior: vocal placement, track foundation, vocal support, low-end weight, and top-end clarity.
The trade-off is simple. If you misunderstand what a control is really doing, you will keep solving the wrong problem. Once you understand what each control changes first, karaoke becomes easier to judge, easier to adjust, and more consistent across different songs and singers at home.
Frequently Asked Questions
Which karaoke control usually causes the most confusion?
Echo often causes the most confusion because people use it to fix problems it cannot really solve. A little echo can support the vocal, but it cannot replace proper music-to-vocal balance. If the singer is buried or too sharp, adding more echo usually makes the result more confusing instead of more controlled.
Should I adjust bass and treble before fixing vocal balance?
No. In most home karaoke setups, balance comes first. If the singer and backing track do not already relate well, tone changes can make the mix sound different without actually making it better. Bass and treble become much more useful after the vocal is placed correctly.
Why does more treble sound clearer at first?
More treble can make vocal detail and consonants jump forward quickly, so it may seem clearer at first. In real home use, that quick impression can turn into sharpness, fatigue, and more feedback sensitivity. Good clarity should be easy to listen to over time, not just brighter for a few seconds.
What does echo actually do in karaoke?
Echo adds repeated reflections behind the vocal, which can make singing feel smoother and less exposed. Used lightly, it can support the voice. Used too much, it smears words together and makes the singer sound farther away from the music.
What is the simplest way to remember these five controls?
Think of them in this order: music volume sets the room foundation, mic volume sets vocal placement, echo sets vocal support, bass sets weight, and treble sets edge. That simple framework helps you understand what kind of change you are making before you touch anything.
Once these common controls make sense, broader system tuning becomes much easier to understand. The next helpful step is learning how a fuller tuning method works across the whole karaoke system.
See the broader tuning method here


