
Most karaoke setup mistakes happen before the first song starts. The system powers on, the TV shows lyrics, and the microphone turns on, but one weak source check, one messy signal path, one bad speaker position, or one aggressive sound setting can turn a simple home karaoke session into feedback, delay, weak vocals, or no sound.
Written by Toan Ho — Tittac editorial team
Who this guide is for: Home users who want to prevent common karaoke setup problems before they happen, especially with TV, YouTube, wireless microphones, speakers, and everyday family karaoke systems.
How this guide was prepared: This guide was written as a prevention-focused setup checklist, not a buying guide or deep repair article. It focuses on the habits that most often cause weak vocals, feedback, delay, no sound, and confusing home karaoke operation.
A karaoke setup does not have to be complicated to fail. Many problems start with small decisions that look harmless: the wrong input is selected, the microphone battery is weak, the speakers are aimed toward the singer, the TV audio path changed, or the system starts with too much mic volume and echo.
The good news is that most of these mistakes are preventable. You do not need to become an audio technician. You just need a cleaner setup routine: confirm the source, check the signal path, test the microphones early, place speakers and singers sensibly, and start with moderate sound settings.
Quick answer: The most common karaoke setup mistakes are using a confusing signal path, skipping source and input checks, connecting microphones without testing them, placing speakers and microphones poorly, starting with too much volume or echo, and changing too many settings at once. The best prevention is a simple pre-use routine that tests one source, one input, one mic path, one real song, and one final speaker output before the session begins.
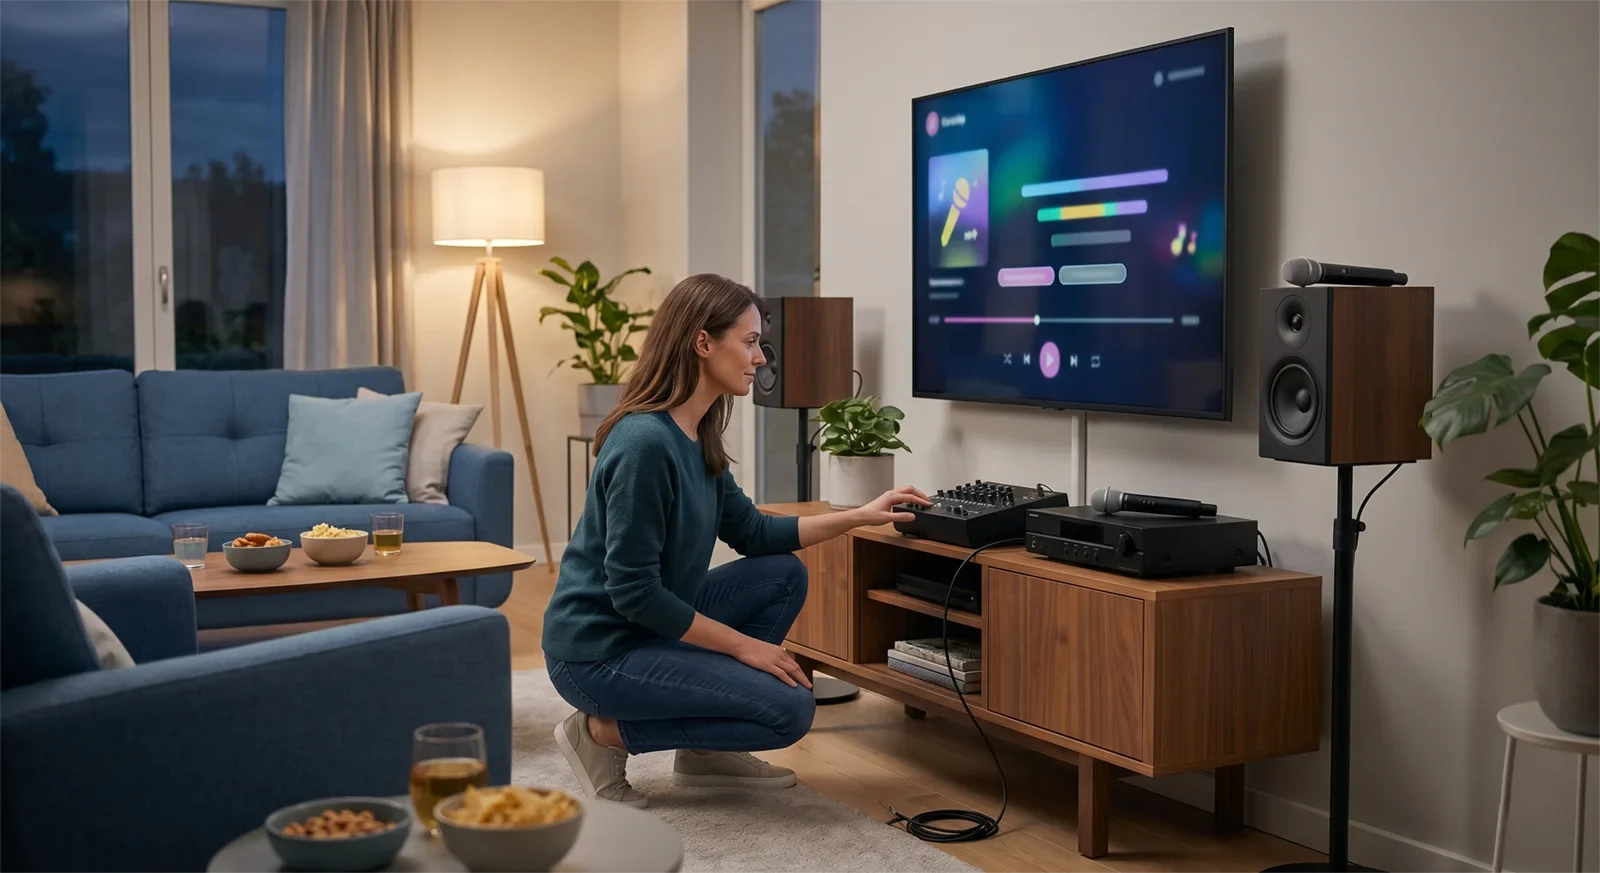
Table of Contents
Why setup mistakes happen
Most karaoke setup mistakes happen because the system looks ready before it is actually ready. The TV may show the song. The speakers may be on. The wireless microphone may light up. But karaoke needs more than powered-on equipment. It needs the music path, microphone path, speaker output, and room layout to work together.
Home users often skip the small checks because they feel too basic. That is exactly why the same problems return. A missed input check can look like equipment failure. A weak mic battery can sound like a bad microphone. Poor speaker placement can feel like a tuning problem. Heavy echo can make a normal room feel delayed and messy.
The goal is not to add more steps. The goal is to use the right steps in the right order. If you want the full signal-flow foundation first, start with the Step-by-Step Home Karaoke Setup Guide.
Source and input mistakes
Mistake 1: Not confirming the actual song source
Many setup problems begin because the user assumes the same device is feeding the system as last time. But home karaoke setups change easily. The TV app, streaming device, phone, tablet, Bluetooth input, or karaoke player may not be using the path you think it is using.
Before adjusting volume or microphones, confirm where the song is coming from. Use one real karaoke video or one familiar song as the test source.
Mistake 2: Leaving too many possible sources active
If the TV, streaming box, Bluetooth, phone, and another audio input are all active, troubleshooting becomes confusing. You may hear sound but not know which path is carrying it. Or you may change the wrong device and think the system is broken.
Choose one source for the session. Then choose one expected audio path. A simple source decision prevents many no-sound and delay problems.
Mistake 3: Forgetting to check the selected input
The cable can be connected correctly while the karaoke system is still listening to the wrong input. This is one of the most common reasons a system seems silent even when nothing is physically broken.
Before changing cables or blaming the equipment, check the input on the amplifier, mixer, receiver, or karaoke speaker. A system that was last used for Bluetooth, TV, optical, HDMI, AUX, or another source may still be set to that previous input.
Signal path mistakes
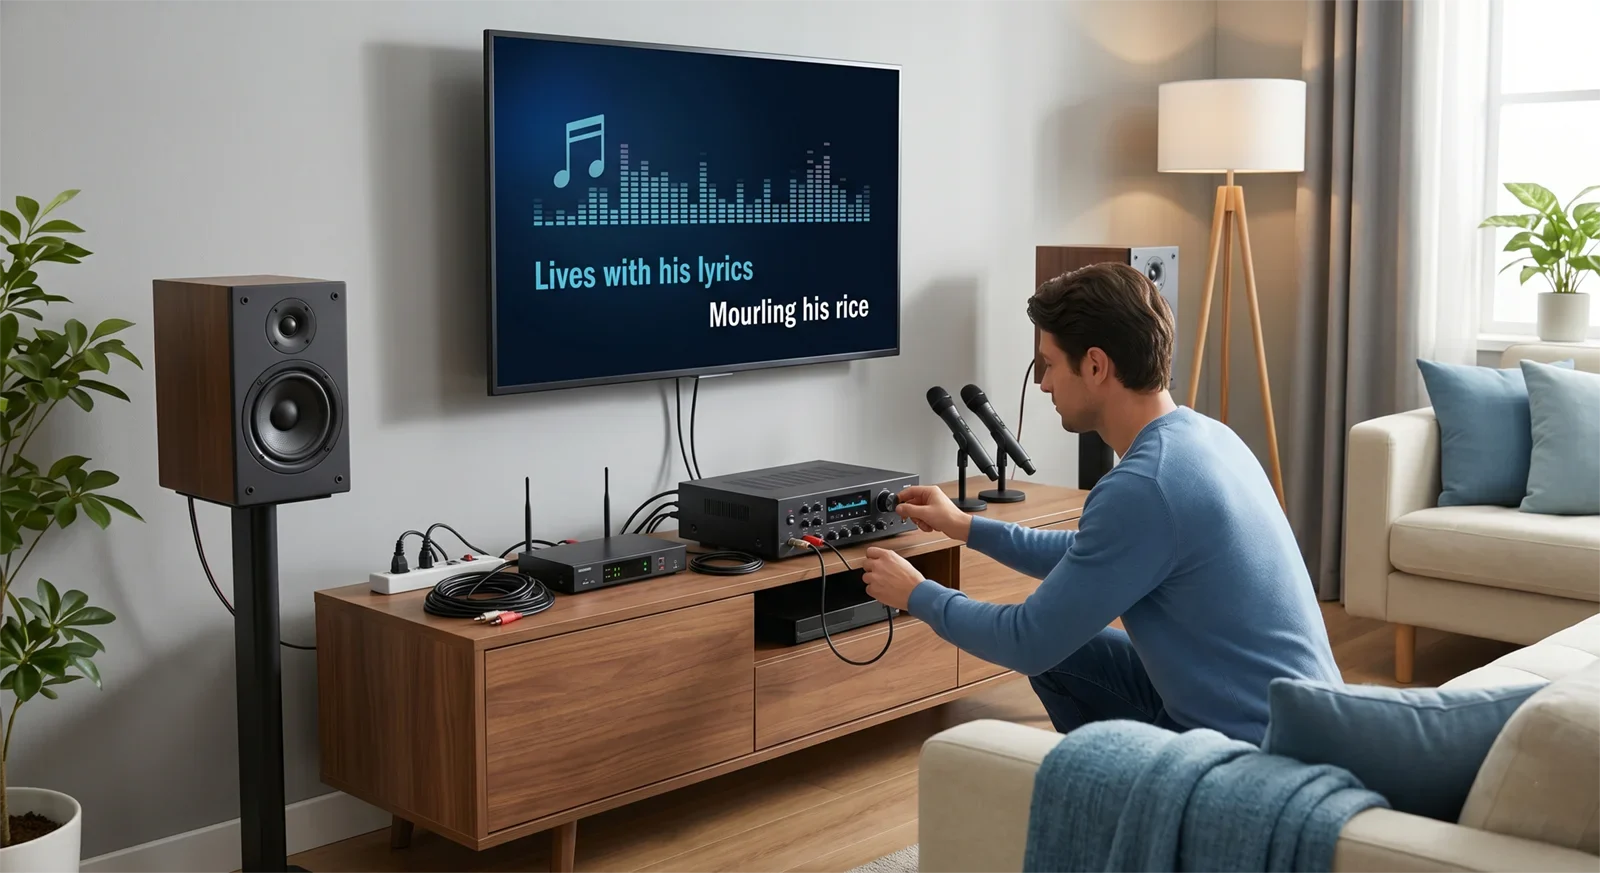
Mistake 4: Making the connection chain too complicated
Extra adapters, extra wireless links, and multiple output routes may seem flexible, but they also create more failure points. They can add delay, reduce reliability, or make the setup harder to repeat next time.
For most homes, the best signal path is the simplest one that works reliably: source to TV or screen, audio into the karaoke system, microphones into the karaoke system, and one final speaker output.
Mistake 5: Splitting music and vocals across different systems
Karaoke works best when music and microphones meet at one main control point. If music plays from one device while vocals come from another, the room becomes harder to balance. Timing can feel strange, vocals may not sit correctly, and volume control becomes frustrating.
Whenever possible, let the karaoke system handle the final music-and-vocal mix. That gives you better control over mic level, echo, balance, and speaker output.
Mistake 6: Using TV speakers and karaoke speakers at the same time
Using both TV speakers and karaoke speakers may seem louder, but it often makes timing and clarity worse. If the TV speakers and karaoke speakers play the same music with a small timing difference, singers may feel disconnected from the track.
For a cleaner setup, use the karaoke speakers as the main final output and turn off or bypass the TV speakers when possible.
Microphone mistakes
Mistake 7: Assuming the microphones are fine because they turn on
A wireless microphone that powers on is not automatically ready for a full session. Batteries may be weak. The receiver may be poorly placed. The output may be connected to the wrong input. The mic level may be too low or too high.
Test one microphone early, before guests arrive or before the room gets loud. Speak normally, then sing lightly over a track. This catches weak vocals, dropouts, and level problems before the first real song.
Mistake 8: Testing music but not testing microphones
Many users test the YouTube or TV sound and assume the microphones will work later. That is risky because microphone issues are usually more disruptive than music playback issues once people start singing.
Test the music path first, then test one microphone by itself, then combine music and microphone at moderate volume. This order makes weak vocals and feedback problems much easier to catch.
Mistake 9: Holding the microphone too far away
Weak vocals are not always caused by the system. Sometimes the singer is holding the microphone too far from the mouth or pointing it at the wrong angle. Then the user raises the mic level too much, which increases feedback risk.
Use a normal, close singing position and keep the mic aimed toward the voice, not toward the speaker. Good mic handling often solves more than extra volume does.
Speaker and room placement mistakes
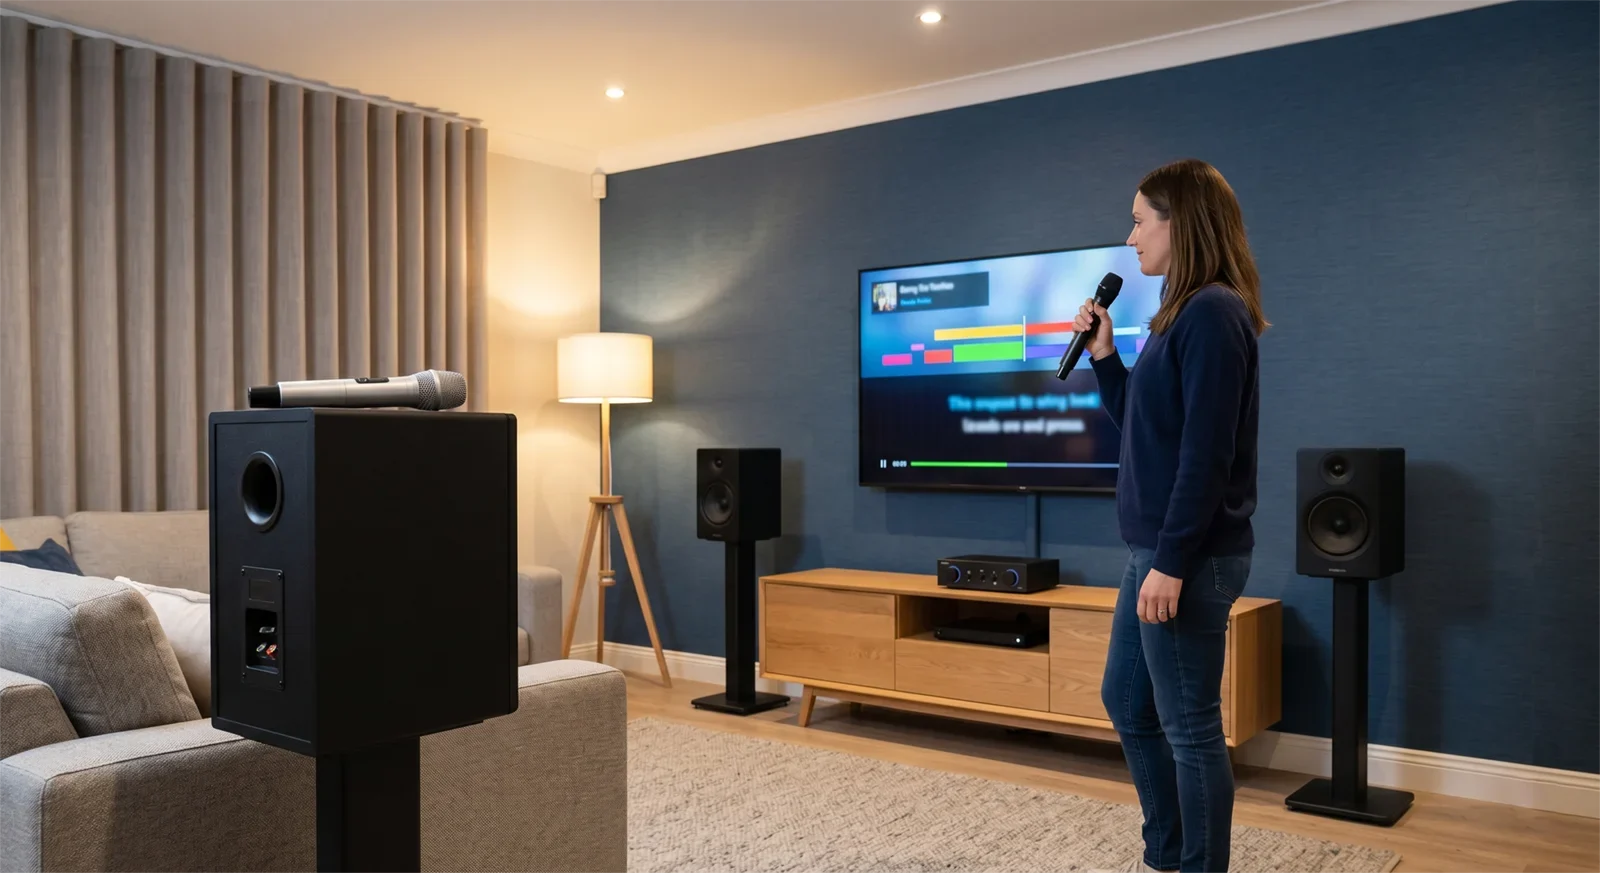
Mistake 10: Placing microphones where they hear too much speaker sound
Feedback often starts because the microphone is hearing the speakers too clearly. If the singer stands directly in front of the speaker or points the mic toward the speaker, the room becomes unstable quickly.
Keep microphones away from the speaker direction. Place singers where they can hear the music but are not feeding the speaker sound straight back into the microphone.
If feedback is already a recurring problem, use How to Stop Microphone Feedback for the focused fix path.
Mistake 11: Crowding the whole setup into one corner
When the TV, speakers, singer, microphone receiver, and listeners are all squeezed into one corner, the room may become louder without becoming clearer. Reflections can build up, singers may stand too close to the speakers, and the system becomes harder to balance.
Give the setup enough space. The goal is not a perfect studio layout. The goal is a practical home layout where the singer, speakers, and listeners are not fighting each other.
Mistake 12: Testing from the wrong position
A system can sound fine when tested near the equipment rack but feel wrong from the real singing position. Always test from where people will actually sing.
Check whether lyrics are readable, vocals feel clear, and the microphone behaves normally from the real use position. That is the position that matters.
Sound setting mistakes
Mistake 13: Starting with too much mic volume
High mic volume may seem like the fastest way to make vocals stronger, but it can create feedback, harshness, and an unstable room. Start with moderate mic volume and raise it slowly after the music level is set.
The singer should be easy to hear, not painfully loud. Clear vocals are better than oversized vocals.
Mistake 14: Using too much echo too early
Echo can make singing feel smoother, but heavy echo can blur words, exaggerate timing problems, and make the room feel messy. Many home users add echo before the dry vocal is clear, which hides the real issue.
Start with light echo. Make the natural vocal clear first. Then add just enough effect to make singing feel comfortable.
Mistake 15: Trying to fix everything with tone controls
Not every problem is an EQ problem. Feedback, weak vocals, delay, and no sound usually begin with setup, placement, routing, or balance. If you start turning tone controls before the system is stable, you may hide the real cause.
Use tone controls after the basic setup is working. Signal path, microphone level, and placement come first.
Final testing mistakes
Mistake 16: Testing with only a spoken phrase
Speaking into a microphone is useful, but it is not enough. Karaoke problems often appear only when a real song plays and the singer uses normal energy.
Always test one short section of a real karaoke song. Listen for vocal clarity, feedback risk, timing comfort, and whether the lyrics are easy to follow from the singing position.
Mistake 17: Changing too many settings at once
When something feels off, many users adjust volume, echo, bass, treble, input settings, and source settings all at once. That makes the system harder to understand and harder to repeat.
Change one thing, then test. If the result improves, keep it. If it gets worse, reverse it. This simple habit prevents setup confusion.
Mistake 18: Assuming yesterday’s setup is still ready today
Inputs change. Batteries weaken. Someone moves a speaker. A TV setting resets. A streaming device updates. A cable gets unplugged. A setup that worked once may still need a quick check before the next session.
A short pre-use routine is not wasted time. It is what keeps the system easy to trust.
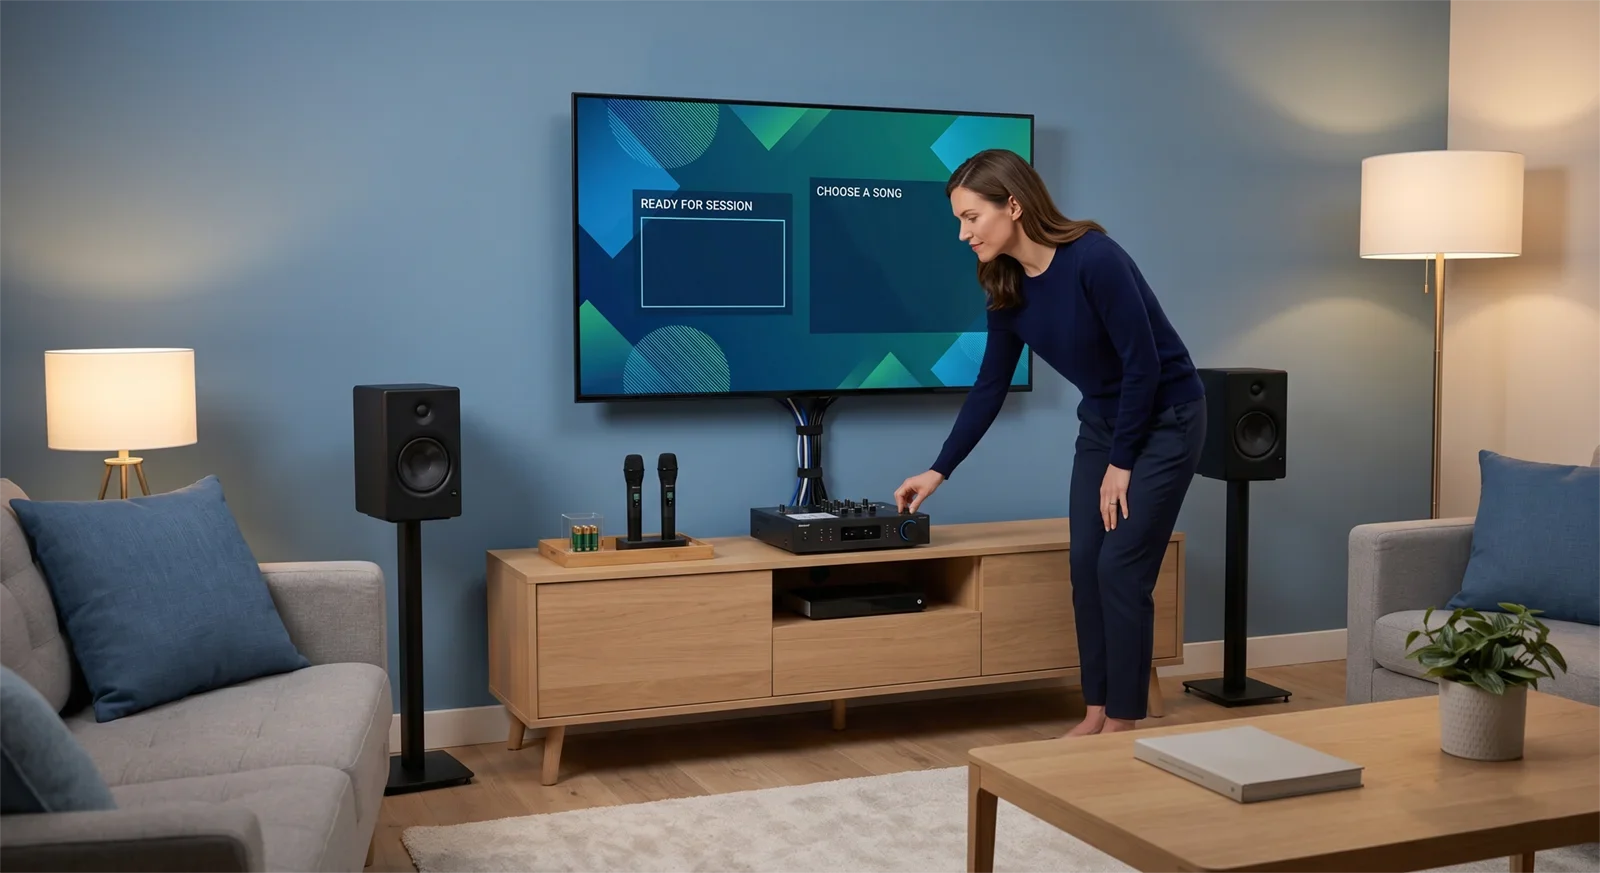
Pre-session prevention checklist
Use this checklist before guests arrive or before the first full song starts:
- Choose one song source for the session.
- Confirm the source is actually playing audio.
- Confirm the correct input is selected on the karaoke system.
- Test the music path without microphones.
- Test one microphone without music.
- Check wireless mic batteries or charging status.
- Place the wireless receiver in an open, sensible location.
- Confirm singers are not standing directly in front of the speakers.
- Set music volume first, then mic volume, then echo.
- Start with moderate levels, not aggressive settings.
- Run one real karaoke song before the session begins.
- Use one final speaker output instead of mixing TV speakers and karaoke speakers.
If this checklist reveals a problem, fix that one issue before adjusting everything else. Prevention works best when the routine is simple enough that you will actually use it every time.
For a shorter party-day version, use the Karaoke Setup Checklist Before a Party.
Conclusion
Most karaoke setup mistakes are small, but they stack up quickly. A confusing signal path, skipped microphone check, poor speaker position, heavy echo, or wrong input can make a good system feel unreliable.
The best prevention is a setup that is clear and repeatable: one source, one signal path, one microphone check, one sensible room layout, one final speaker output, and one real-song test before the session starts.
When the setup is simple, the room feels easier to control. Vocals are clearer, feedback is less likely, timing feels more natural, and everyone can focus on singing instead of fixing the system.
Get the Karaoke Setup Checklist Before a Party
Frequently Asked Questions
What is the most common karaoke setup mistake at home?
The most common mistake is using a confusing signal path and then trying to fix the result with volume, echo, or tone controls. If you are not sure which device is sending audio and which device is receiving it, no-sound, delay, and balance problems become much harder to solve.
Why does my karaoke system work sometimes but not every time?
This usually happens when the setup depends on too many changing steps. Inputs may change, batteries may weaken, TV audio settings may switch, or a device may connect differently than last time. A short pre-session checklist makes the setup more repeatable.
Should I test the microphones before or after the music?
Test the music path first, then test one microphone by itself, then combine music and vocals. This order helps you find whether the problem is coming from the source, the microphone path, or the final mix.
Why does my karaoke sound fine during setup but bad when people start singing?
The test may be too limited. Real singing adds louder vocals, movement, microphone handling, and more room interaction. A spoken mic test is not enough. Run part of a real karaoke song before calling the setup ready.
How do I avoid microphone feedback before it starts?
Keep microphones away from the speaker direction, avoid pointing the mic at the speaker, start with moderate mic volume, use light echo, and place singers where the microphone does not pick up too much speaker sound.
Is more echo better for karaoke?
Not always. Light echo can help vocals feel smoother, but too much echo can blur lyrics, make timing feel worse, and increase room instability. Start light and add only what the room needs.
What should I check right before a karaoke session?
Check the active source, selected input, music path, microphone path, mic batteries, receiver placement, speaker position, volume levels, echo level, and one real karaoke song before guests or family start singing.


