
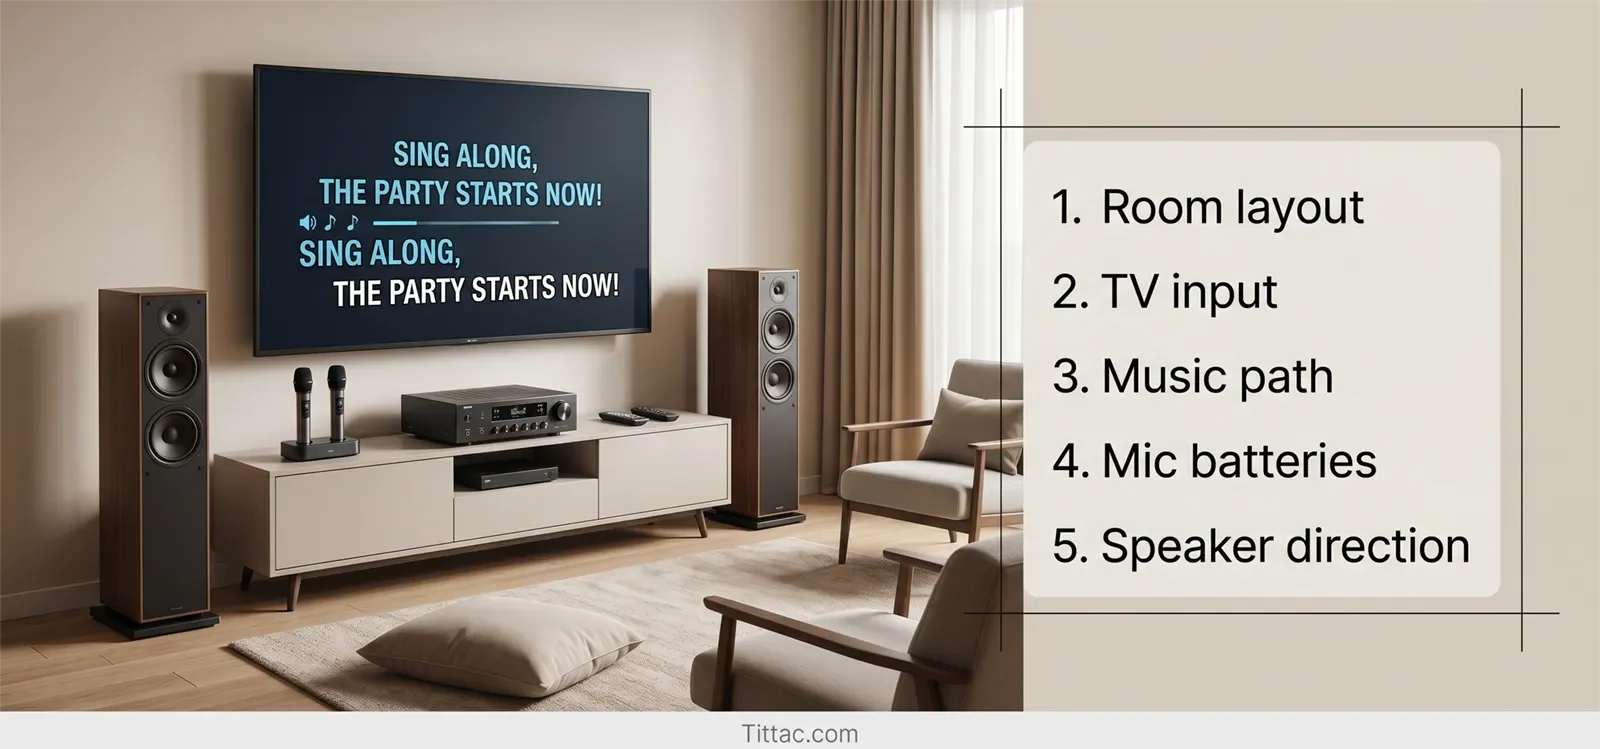
A good karaoke setup checklist should catch the small problems before guests arrive: wrong TV input, weak microphone batteries, loose cables, missing remotes, unstable speaker placement, or feedback risk. For most home parties, the fastest routine is simple: check the room first, test music second, test microphones third, then run one short final song check.
Written by Toan Ho — Tittac editorial team.
Who this guide is for: Home karaoke users who want a fast pre-party checklist to make sure the system is ready before family, friends, or guests start singing.
How this guide was prepared: This guide was refreshed around common home karaoke party problems, including wrong inputs, weak mic batteries, loose cables, missing remotes, feedback risk, speaker placement, and last-minute room setup issues.
Most karaoke party problems are not major equipment failures. They are small issues that become stressful because people are already waiting. A TV input gets changed. One microphone battery is weak. A cable is half-loose. The remote is missing. A speaker was moved and now points too close to the singing area.
This checklist is not a full setup guide from zero. It is the final prevention routine you run before people arrive. If you want the complete signal-path setup first, start with the Step-by-Step Home Karaoke Setup Guide, then use this page as your pre-party check.

Table of Contents
Quick Answer
Before a karaoke party, check the room layout, power, TV or display input, music source, audio path, microphone batteries, speaker direction, and one short live song test. The best order is room first, music second, microphones third, then a final 5-minute test with lyrics, music, and at least one microphone active.
Do not wait until the first guest asks for a song. A short checklist before the party prevents most visible karaoke problems.
Why This Checklist Matters
A karaoke setup checklist matters because small problems feel much bigger once people are already watching. A loose cable is easy to fix in an empty room. It feels awkward when someone is holding a microphone and the first song still will not start.
This checklist is useful for both temporary and permanent setups. A temporary setup needs checking because gear gets moved, plugged in, and rearranged. A permanent setup still needs checking because inputs change, batteries drain, remotes disappear, and speakers can shift during normal daily use.
The point is not to make the setup more technical. The point is to make it repeatable. If one person in the house can run the same quick routine every time, the party starts smoother and the system becomes easier to trust.
Room and Source Checks
Start with the room before touching the microphones. The goal is to confirm that singers can see, hear, move, and control the system comfortably.
- Display check: Make sure the TV or screen is easy to read from the real singing spot, not just from the couch.
- Source check: Confirm the device you plan to use is ready, such as a Smart TV app, streaming device, phone, tablet, or karaoke player.
- Input check: Make sure the TV and audio system are set to the correct input for tonight’s setup.
- Power check: Confirm the main devices are plugged in, powered on, or fully charged.
- Remote check: Put the main remote or control device in one obvious place before guests arrive.
At this stage, do not worry about perfect sound. Just make sure the room knows what device is in charge. Lyrics should appear, the source should respond, and the first song should be easy to start.
If your setup often feels messy before the music even begins, review Common Karaoke Setup Mistakes to Avoid before the next party.
Music and Signal Path Checks
After the room and source are ready, test music before microphones. This order matters because it separates the source path from the vocal path.
Play one familiar karaoke track at a moderate volume. Confirm that the music reaches the main speakers clearly. Check that the lyrics match the track and that the volume is comfortable enough for people to hear without the system feeling pushed.
Use this quick music-path check:
- Open the karaoke app, YouTube playlist, or karaoke player.
- Start one familiar song.
- Confirm the TV or screen shows lyrics correctly.
- Confirm music comes from the intended speakers.
- Confirm the volume is comfortable before adding microphones.
If the music path does not work, do not test microphones yet. Fix the source, input, or cable path first. Adding microphones before music works usually creates more confusion.
Microphone Checks
Once music works, test microphones one at a time. Do not turn on every microphone at once. One mic is enough to confirm whether the vocal path is clean.
- Test one microphone first: Speak normally and confirm the voice comes through clearly.
- Check battery or charge level: Replace weak batteries before the party starts.
- Test backup microphones: A spare mic only helps if you already know it works.
- Keep only needed mics active: Too many live microphones can increase confusion and feedback risk.
- Label channels if needed: Make it clear which microphone belongs to which receiver or channel.
This step matters more when several people will sing together. A setup that works with one microphone can become messy when a second or third microphone is added without testing.
If you plan to use more than two wireless microphones, read How to Connect Multiple Wireless Microphones for Karaoke before the event.
Speaker and Feedback Checks
After the source and microphones work, check the physical room layout. A karaoke system can be connected correctly but still become unstable if the speakers and microphones face each other too directly.
Speakers should fill the room, not fire straight into the main singing position. If a speaker points directly at the microphone area, turn it slightly away if possible. Small angle changes can reduce feedback risk without making the system sound weaker.
Check the singer area:
- Make sure the main singing spot is not directly in front of the speakers.
- Make sure the lyric screen is easy to read from that spot.
- Keep microphones away from drinks, table edges, and clutter.
- Keep cables away from walking paths.
- Make sure speakers, stands, receivers, and tables feel stable.
Think about party behavior before it becomes a sound problem. People may point microphones toward speakers, hold microphones too close, raise volume too high, or leave unused microphones on. Preventing those habits is easier than fixing feedback after the room gets loud.
If your room often squeals, rings, or becomes unstable when people sing, use How to Stop Microphone Feedback in Karaoke at Home as the next troubleshooting guide.
Final 5-Minute Check
Once everything looks ready, run one short final check. This should take only a few minutes and should follow the same order every time.
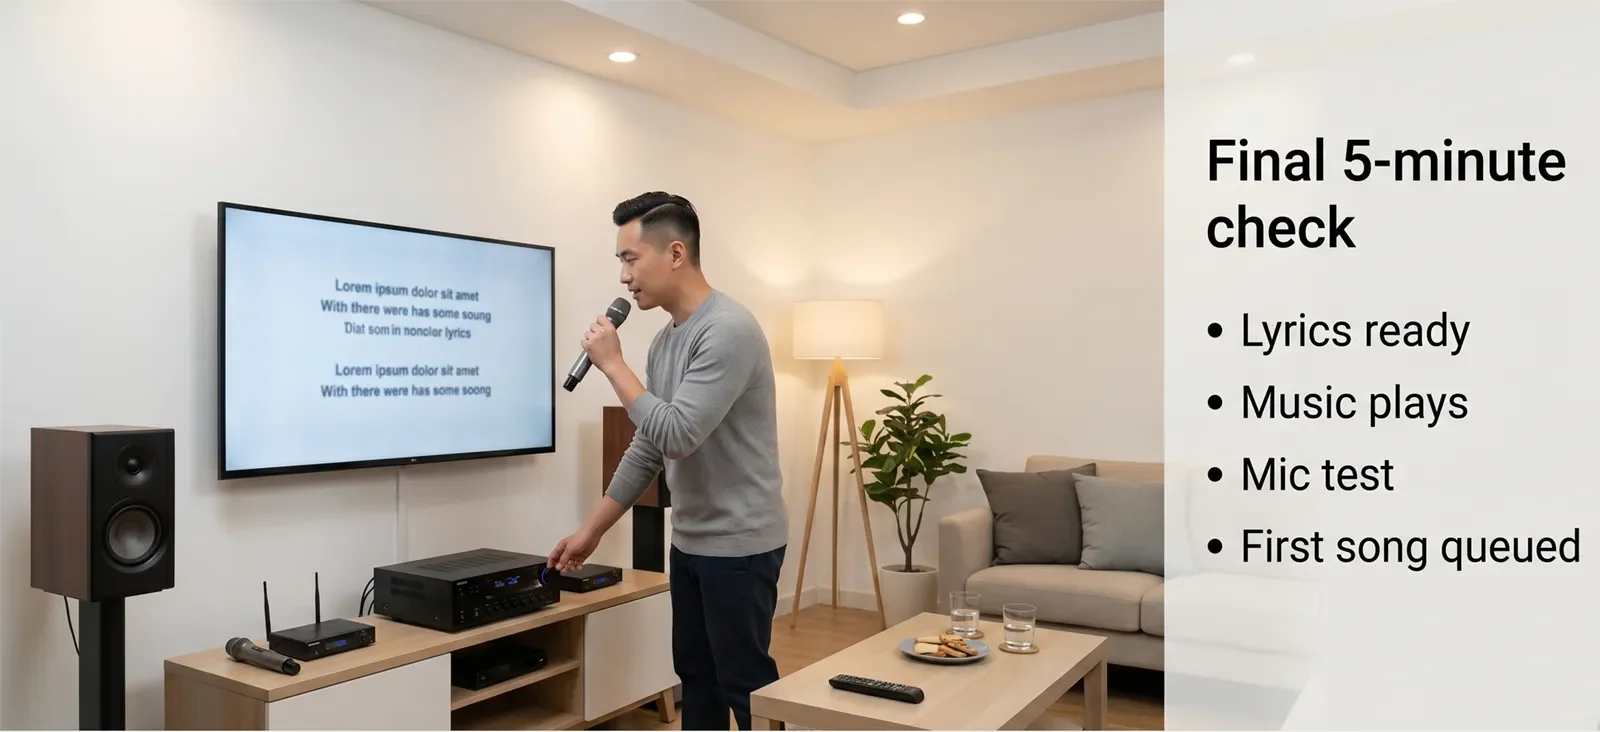
- Minute 1: Play one familiar karaoke track and confirm lyrics appear correctly.
- Minute 2: Confirm music plays through the intended speakers at a comfortable starting level.
- Minute 3: Test one microphone for clear voice and safe volume.
- Minute 4: Test the second microphone or spare mic if you plan to use it.
- Minute 5: Reset the first song or opening queue so the party can start immediately.
This final check tests the real experience: lyrics, music, microphones, speaker output, and room behavior together. Do not turn it into a long rehearsal. The goal is simply to make sure the system is ready before anyone is waiting.
Conclusion
A karaoke setup checklist keeps party prep calmer because it turns small unknowns into simple checks. Room first. Music second. Microphones third. One final live test before guests arrive.
For most homes, that short routine prevents the problems that usually interrupt karaoke night: wrong inputs, weak batteries, missing remotes, loose cables, unstable speaker placement, and feedback surprises.
The best checklist is the one you can repeat every time without overthinking it.
FAQs
How early should I run a karaoke setup checklist before a party?
Run it before guests arrive, after the room is mostly arranged. Even a short window is enough if you check the room, music path, microphones, and one final live song test in order.
What is the most important part of the checklist?
The final live test usually catches the most problems because it checks lyrics, music, microphones, and room behavior together before guests are waiting.
Do I need this checklist if my karaoke system stays connected?
Yes. Permanent setups can still have changed inputs, drained batteries, missing remotes, bumped cables, or speaker placement changes between sessions.
Should I test every microphone before guests arrive?
Yes. Test each microphone individually, especially if more than one will be used. This catches weak batteries, channel confusion, or a backup mic that is not actually ready.
Should I set up the first song before guests arrive?
Yes. Having the first song or opening queue ready helps the party start smoothly and avoids awkward waiting while people search for music.
Want the checklist to turn into a smoother karaoke night, not just a cleaner technical setup?
Use the hosting guide next so song flow, guest comfort, and party energy feel as ready as the equipment.


