
A simple karaoke maintenance routine can prevent many home setup problems before they become real failures. The most important habits are checking batteries, keeping microphones clean, inspecting cables and connectors, storing gear without strain, and noticing small warning signs early.
Written by Toan Ho — Tittac editorial team.
Who this guide is for: Home karaoke owners who want a simple, repeatable routine for keeping microphones, batteries, cables, connectors, and everyday system parts working reliably over time.
How this guide was prepared: This guide was refreshed for Tittac’s karaoke setup and troubleshooting cluster based on common home-use patterns: weekend singing, family handling, wireless microphones, removable batteries, portable systems, and cables that are moved or reconnected often.
Most home karaoke problems do not begin as dramatic failures. They often start as small signs that are easy to ignore: a loose connector, a tired battery, a dirty microphone grille, or a cable that only works when it sits a certain way.
Routine maintenance keeps a home karaoke system enjoyable instead of unpredictable. If your system already has a clear symptom, such as no sound, microphone dropout, feedback, or one speaker not working, start with Common Karaoke Problems and How to Fix Them. This guide is for regular care before small issues turn into bigger interruptions.

Table of Contents
Quick Answer
The best home karaoke maintenance routine is simple: check batteries before they become weak, keep microphone grilles clean, inspect cables and connectors for wear, store gear without strain, and pay attention to early warning signs. Most home systems do not need a complicated service schedule. They need light, consistent care.
For family-use karaoke systems, the parts that need the most attention are usually the parts people touch the most: wireless microphones, batteries, charging areas, microphone grilles, cable ends, input jacks, and power connections.
What to Check Before Each Karaoke Session
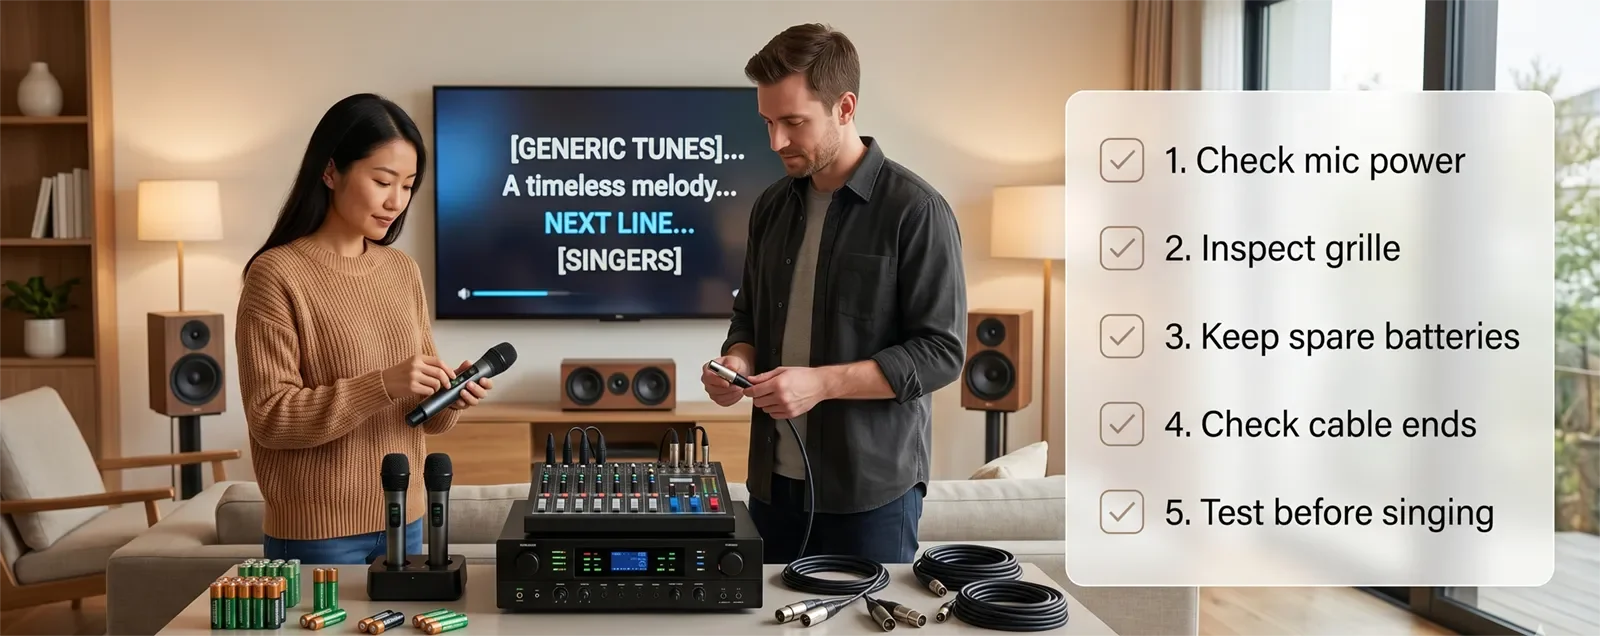
Before a karaoke session, do a quick check of the parts most likely to interrupt the night. Make sure microphones power on normally, batteries are ready, cables are seated firmly, and the system plays sound from the source you plan to use.
This does not need to take long. The goal is to catch simple problems before guests arrive or before the family is ready to sing. A weak battery or loose cable is much easier to fix before the first song than in the middle of a session.
Check the microphones first. Turn them on, speak or sing briefly, and confirm that the sound is clear and stable. Then check the music source, such as the TV, karaoke app, Bluetooth device, or media player. Finally, make sure the amplifier, mixer, or speaker system is on the correct input.
If you want a more complete pre-session routine, use the Karaoke Setup Checklist Before a Party. That guide is useful when you want to prepare the room, system, microphones, and source before people start singing.
Microphone Care and Cleaning
Microphones need regular attention because they are handled closely and often. The grille collects moisture, dust, and everyday buildup, especially when multiple people use the same microphone during family gatherings or parties.
For normal home use, inspect the microphone grille regularly. If it looks dirty, feels unpleasant to use, or has visible buildup, clean it according to the microphone manufacturer’s care instructions. Avoid spraying liquid directly into the microphone body or soaking parts that are not designed to be removed.
Handle microphones gently. Do not drop them onto tables, let them roll off furniture, or store them loose where they can hit other equipment. Wireless microphones may look sturdy, but repeated drops and rough handling can damage internal parts, battery doors, switches, or grille threads over time.
After each session, turn microphones off and place them in a consistent storage spot. This simple habit prevents battery drain, accidental drops, and the common problem of microphones disappearing into drawers, sofas, or mixed storage boxes.
Battery and Charging Maintenance
Battery problems often appear gradually. A wireless microphone may work at first, then drop out sooner than expected. A portable karaoke speaker may power on but lose strength quickly. A rechargeable battery may seem fine until a longer session exposes the weakness.
Check battery level before each use. If your microphones use removable batteries, keep spare batteries nearby so you can test quickly. If the system uses rechargeable batteries, charge them before the session and avoid waiting until guests arrive to find out whether the battery is low.
Battery contacts also deserve occasional inspection. Look for dirt, looseness, corrosion, or signs that batteries have leaked. If a microphone or portable unit will be stored for a long time, remove disposable batteries when appropriate so they do not leak inside the compartment.
Do not treat battery maintenance as an afterthought. In many home karaoke systems, weak batteries are one of the easiest problems to prevent and one of the fastest problems to misdiagnose as a microphone or speaker issue.
Cable and Connector Inspection
Cables and connectors are common failure points because they get pulled, bent, stepped on, plugged in, unplugged, and moved between sessions. A cable may still look usable while already becoming unreliable near the ends.
Look for loose plugs, bent connectors, frayed outer jackets, tight kinks, or cables that only work when held at a certain angle. Also check the input and output jacks on the amplifier, mixer, speaker, TV, or source device. A connection that feels loose today may become a no-sound problem later.
Do not yank cables out by pulling the cord. Hold the plug or connector body and remove it gently. This protects both the cable and the equipment jack. Many long-term cable problems come from repeated strain, not one major accident.
If one cable causes repeated issues, replace or test it before assuming the whole system is failing. A spare cable can save time because it lets you confirm whether the problem is the cable or another part of the setup.
Safe Storage Habits
Good storage keeps a karaoke system easier to use and less likely to fail. Microphones, remotes, batteries, chargers, adapters, and cables should have one consistent place instead of being scattered around the room after every session.
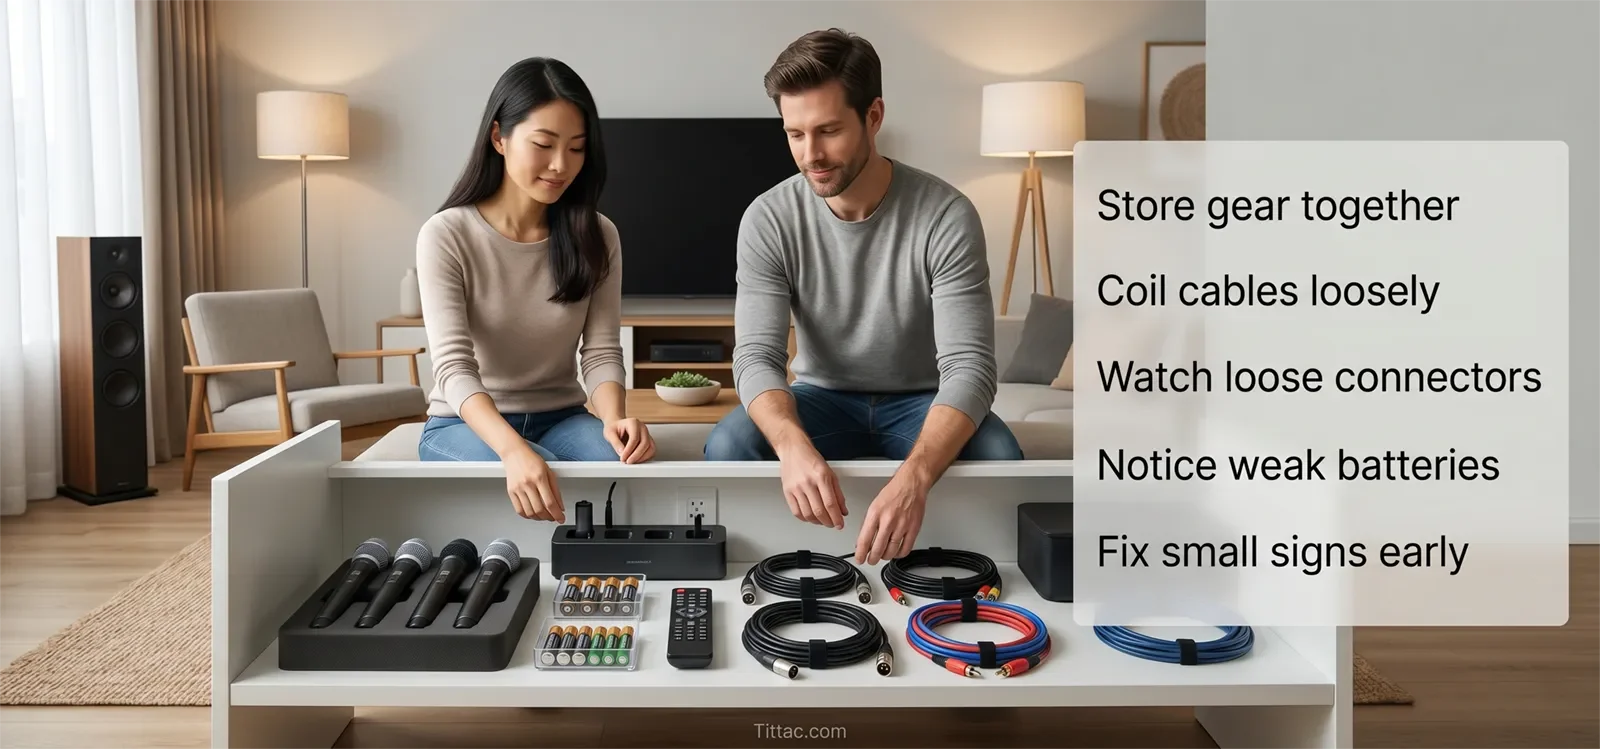
Coil cables loosely and calmly. Do not wrap them too tightly around equipment, bend them sharply at the ends, or stuff them under heavy objects. Cable strain often builds slowly until the system becomes unreliable.
Keep microphones protected when they are not being used. A case, drawer, shelf, or dedicated storage area is better than leaving microphones on the floor, sofa, or TV stand where they can fall or get pushed aside.
For portable karaoke systems, storage matters even more because the system may be moved between rooms, cars, patios, or family gatherings. Keep accessories together so setup does not become a search for missing cables and batteries.
Early Warning Signs
The most useful warning signs are subtle. A microphone that suddenly needs more effort to sound normal, a cable that works only in one position, a connector that feels loose, or a battery that drains faster than before should not be ignored.
Inconsistency is another warning sign. If the system works well one weekend and behaves strangely the next without a major change, the issue may come from normal wear in a handled part of the setup.
Pay attention to surfaces and contact points. Dirty microphone grilles, loose battery doors, worn cable ends, dusty jacks, and messy storage areas are not only cosmetic problems. They often show where reliability may start slipping.
If repeated wear keeps showing up in the same area, the setup may be used harder than expected or may no longer fit the way your household sings. In that case, it may be worth reviewing How to Upgrade an Existing Karaoke System.
When Maintenance Is Not Enough
Maintenance prevents avoidable problems, but it does not replace real troubleshooting. If a microphone repeatedly drops out, one speaker channel disappears, the TV sends no audio, or feedback happens every session, the system needs a more specific diagnosis.
Maintenance also will not make worn-out parts new again. Its job is to reduce strain, catch early warning signs, and keep the system stable longer. If a cable, microphone, battery, or connector has truly failed, replacement or repair may be the safer answer.
If the whole setup feels confusing or unreliable, step back and review the system path. A clean setup is easier to maintain than one that changes every time people sing. For a broader system review, start with the Step-by-Step Home Karaoke Setup Guide.
Home Karaoke Maintenance Checklist
- Check microphone power before each session.
- Keep spare batteries ready for wireless microphones.
- Inspect microphone grilles for dirt, moisture, or buildup.
- Turn microphones off after every session.
- Check frequently used cables for loose ends or visible wear.
- Do not pull cables out by the cord.
- Keep connectors and input jacks clean and seated properly.
- Store microphones, remotes, chargers, and batteries in one place.
- Coil cables loosely instead of bending them sharply.
- Test the system before guests arrive or before a planned singing night.
A good maintenance routine should feel easy enough to repeat. If it becomes too complicated, it probably will not happen. Focus on the parts that are touched most often and the habits that prevent the most common interruptions.
Frequently Asked Questions
How often should I clean a karaoke microphone grille?
For normal home use, inspect the grille regularly and clean it when you see buildup or when the microphone no longer feels fresh to use. If many people share the same microphone, check it more often.
What is the most common maintenance issue in home karaoke systems?
The most common issues usually involve handled parts: batteries, microphones, cables, connectors, and input jacks. These parts wear gradually because they are touched, moved, and reconnected the most.
Should I keep spare batteries and cables at home?
Yes. Spare batteries and at least one known-good cable make troubleshooting much easier. They help you test whether a problem is caused by a weak battery or worn cable before assuming the system has a bigger issue.
Can storage habits really extend the life of a karaoke system?
Yes. Better storage reduces strain on cables, connectors, microphones, battery doors, and accessories. A system that is stored carefully is usually easier to set up and less likely to develop avoidable problems.
What should I check if my wireless microphone cuts in and out?
Start with the batteries, battery contacts, microphone power switch, and receiver connection. If those are fine and the issue keeps returning, treat it as a troubleshooting problem rather than routine maintenance.
When should I replace a cable instead of keeping it?
Replace a cable if it only works at a certain angle, feels loose, has visible damage, or causes repeated sound dropouts. A worn cable can waste a lot of time because the problem may appear and disappear during use.


