
If your wireless karaoke microphone keeps cutting out, start with the simple causes first: fresh batteries, shorter distance, clearer receiver placement, and less wireless clutter around the singing area. Most dropout problems improve fastest when the receiver has a clean path to the microphone and the wireless chain is tested one step at a time.
Who this guide is for: Home karaoke users whose wireless microphone suddenly cuts out, becomes thin, disappears for a moment, or feels unstable while the music continues playing normally.
How this guide was prepared: This guide focuses on one troubleshooting problem only: wireless microphone dropout. It follows a practical home setup order: check power first, improve receiver placement, test the mic path in the real singing area, then decide whether the mic system itself is still dependable.
Wireless microphone dropout can ruin karaoke quickly because the rest of the room may seem normal. The music keeps playing, the lyrics are still on screen, and then the vocal suddenly disappears in the middle of a line.
This is not a buying guide and not a general setup article. The goal is to help you find why the wireless path is unstable and fix it without turning the session into a guessing game. If you want the bigger setup picture first, start with the Step-by-Step Home Karaoke Setup Guide.
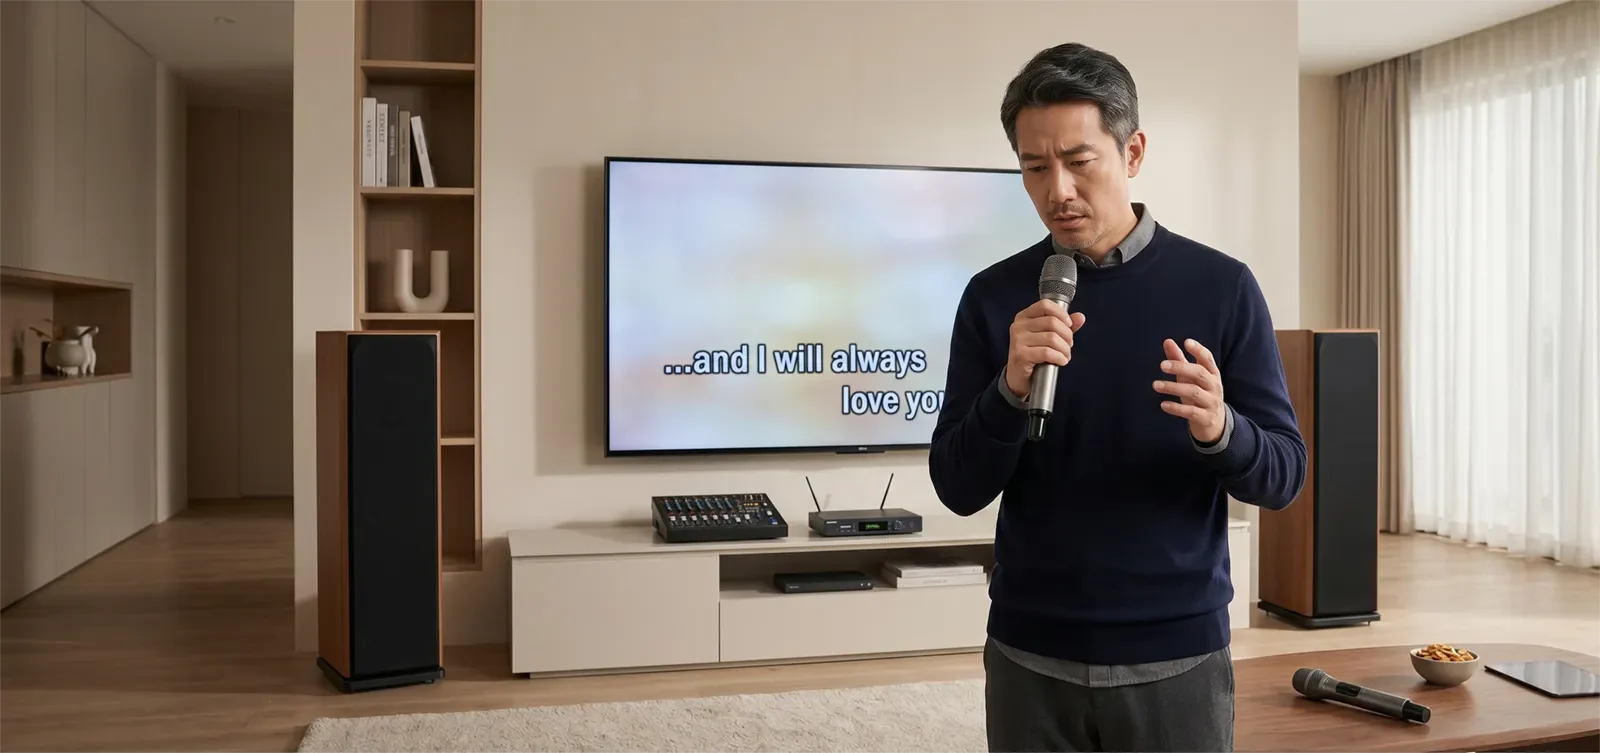
Table of Contents
Quick Answer
To fix wireless microphone dropout in karaoke, replace or recharge the batteries first, move the receiver into a more open position, shorten the distance between the microphone and receiver, test one microphone at a time, and check whether the dropout follows one mic, one room position, or one receiver channel. In most homes, dropout improves fastest when receiver placement and power are corrected before blaming the whole karaoke system.
Confirm the Exact Symptom First
Before changing settings or thinking about replacement, make sure the problem is truly wireless dropout. In karaoke, several microphone problems can get described the same way.
True wireless dropout usually sounds like this:
- The voice disappears briefly while the music keeps playing.
- The microphone becomes thin or broken for a second, then comes back.
- The problem happens more often in certain parts of the room.
- One microphone cuts out more than another microphone.
- The issue gets worse later in the session as batteries weaken.
That pattern matters because it tells you the full karaoke system is probably not failing. The problem is usually somewhere between the handheld microphone and the wireless receiver.
Use a simple test. Start with one microphone, one familiar song, and a normal singing position. Speak or sing steadily near the receiver. Then move farther away. Then test the exact area where the dropout usually happens.
If the microphone works near the receiver but cuts out in one part of the room, the issue is likely distance, receiver placement, obstacles, or wireless path stability. If the microphone never fully cuts out but only sounds weak, the problem may be low vocal level instead. In that case, review Fixing Low Microphone Volume before treating it as a wireless dropout problem.
Most Common Causes
Once you confirm the symptom, most wireless microphone dropout problems come from a small group of repeat issues.
Weak or Inconsistent Battery Power
A wireless microphone does not have to be completely dead to behave badly. It may still turn on and pass sound, but the signal can become less stable as battery strength drops. This is especially common later in a karaoke session.
Poor Receiver Placement
If the receiver is hidden behind the TV, buried inside a cabinet, placed low to the floor, or blocked by furniture, the signal path becomes harder to maintain. In many home rooms, this is the biggest real-world cause of dropout.
Too Much Distance
A microphone that works near the receiver may cut out from the spot where people actually sing. That is why testing from the real singing position matters more than testing right next to the equipment.
Obstacles Between the Mic and Receiver
Furniture, cabinets, walls, bodies, electronics, and crowded equipment areas can all make the wireless path less stable. The receiver does not need to be in the middle of the room, but it should not be buried or blocked.
Wireless Clutter Around the Karaoke Area
Dropout can become worse when the room has many active wireless devices, crowded electronics, or overlapping household signals. You do not need deep technical analysis for every home setup, but if dropout keeps returning, it helps to understand the practical differences in UHF vs VHF vs 2.4GHz Microphones.
A Loose Receiver Output or Power Connection
Sometimes the microphone gets blamed even though the receiver output is loose, the receiver power is unstable, or the wrong channel is being tested. Always confirm the receiver path before assuming the handheld mic is defective.
The Mic System May Not Fit the Room
A wireless microphone system that works for light casual use may struggle in a busier home karaoke setup where people move around, sing from different positions, or use multiple microphones more often.
The useful mindset is simple: dropout is usually a wireless-path problem, not proof that the entire karaoke system is broken.
Step-by-Step Fix Order
The fastest way to solve wireless mic dropout is to troubleshoot in the same order every time. This keeps the test practical and shows which change actually helped.
1. Start With Fresh Power
Replace or recharge the batteries before doing anything more complicated. This is the easiest variable to remove. Weak power can make every other part of the system seem less reliable.
2. Test One Microphone Only
If multiple microphones are live, mute the extra ones and troubleshoot one mic first. A one-mic test is cleaner and tells you whether the problem is tied to one transmitter, one receiver channel, or the room itself.
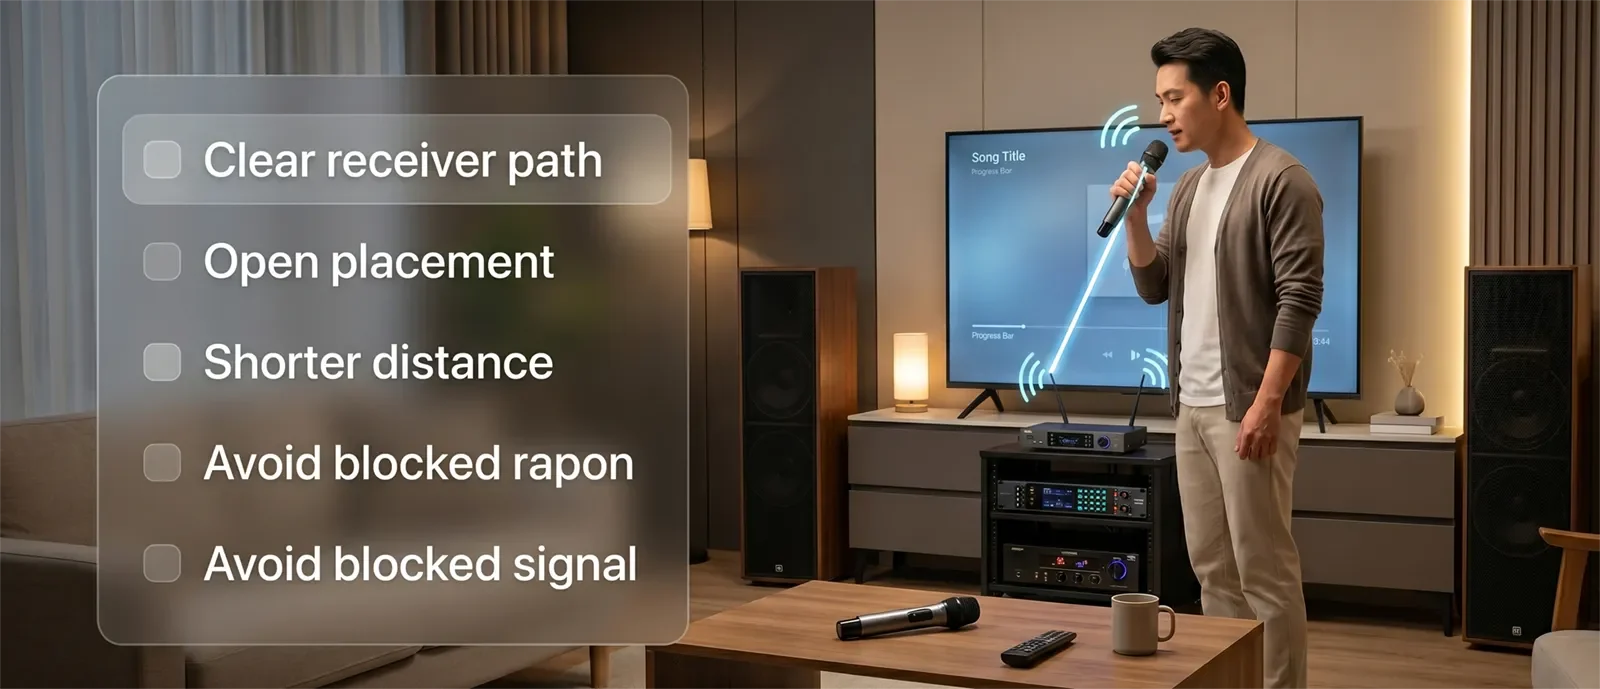
3. Move the Receiver Into a More Open Position
Do not leave the receiver hidden behind a TV, buried in a shelf, surrounded by electronics, or placed low behind furniture. Give it a clearer path to the singer. In many homes, this one change improves stability immediately.
4. Test Close, Then Far, Then in the Trouble Spot
Sing near the receiver first. Then move to the normal singing area. Then go to the exact place where dropout usually happens. This sequence tells you whether distance and room position are major contributors.
5. Reseat the Receiver Output
Make sure the receiver is powered correctly and connected firmly to the karaoke system. If the output cable or receiver connection is loose, the symptom may feel like wireless dropout even when the issue is actually the receiver path.
6. Compare Another Microphone or Channel
If available, test another microphone or another receiver channel in the same room position. If one mic drops out and another behaves normally, the issue may be tied to that microphone or transmitter. If both struggle in the same spot, the room or receiver placement is more likely.
7. Reduce Surrounding Complexity
If the karaoke area is crowded with gear, rushed setup habits, multiple open microphones, or unclear routing, simplify first. Many home users keep fighting the symptom when the real fix is a cleaner, more repeatable setup routine.
If dropout keeps returning even after the basic checks, review Common Karaoke Setup Mistakes to Avoid to make sure the broader setup is not creating avoidable instability.
8. Retest the Way Your Household Actually Sings
Do not stop after a quick test near the equipment. Use the microphone the way your family actually uses it: normal standing position, normal distance, normal movement, and real songs. A fix only matters if the mic stays stable during real karaoke use.
This order works because it solves the most common causes first without making the system more confusing. A good home karaoke fix should leave the setup clearer, more stable, and easier to repeat next time.
Best Receiver Placement for Home Karaoke
Receiver placement matters more than many users expect. A wireless microphone can only stay stable if the receiver has a reasonable path to the handheld mic.
For most home karaoke rooms, a better receiver setup follows these rules:
- Place the receiver in an open area near the main karaoke system.
- Keep it visible and reachable instead of hidden behind the TV.
- Avoid burying it inside a closed cabinet.
- Keep it away from crowded cable bundles when possible.
- Do not place it directly on the floor behind furniture.
- Test from the actual singing area, not only from beside the system.
The receiver does not need to be in the center of the room. It simply needs a cleaner and more predictable path to the microphones. In a home environment, better placement often helps more than changing several sound controls.
When the Problem Is Actually Somewhere Else
Not every unstable vocal is true wireless dropout. Sometimes the symptom is being described too broadly, which leads people toward the wrong fix.
One common example is low microphone volume. If the mic never fully cuts out but sounds weak or buried under the music, the issue may be gain balance rather than wireless stability.
Another example is feedback control or overcorrected settings. If the vocal changes suddenly because the system is reacting to ringing, harshness, or aggressive processing, it may feel like the mic is cutting out even when the wireless path is not the main problem.
Room layout can also make a good mic system seem defective. If the receiver is placed badly and the singer keeps moving into weak spots, the pattern may be predictable rather than random. That is still a real problem, but the fix is setup discipline, not immediate replacement.
Finally, some systems are simply no longer worth the workaround. If you have checked batteries, distance, receiver placement, channel behavior, and connection path, but dropout still returns during normal home use, the current wireless mic system may not be reliable enough for your room or singing habits.
At that point, the better question is no longer “What else can I tweak?” It is “Is this wireless microphone setup actually a good fit for how we use karaoke at home?”
Conclusion
Wireless microphone dropout becomes easier to fix when you stop treating it like a mystery. In most homes, the fastest progress comes from fresh batteries, open receiver placement, realistic singing distance, and repeatable room testing.
The best fix gives you a stable vocal path without turning setup into a chore. For most households, that means clearer receiver placement, less guessing, and a wireless routine that works from song to song.
If the mic still cuts out after the basics have been checked carefully, the real answer may be that the current wireless system is no longer the right match for your room, your habits, or your expectations.
See How to Choose Wireless Microphones for Karaoke
Frequently Asked Questions
Why does my wireless karaoke microphone cut out only in certain parts of the room?
That usually points to a signal-path problem rather than a completely broken microphone. The receiver may have a weaker path to that area because of distance, obstacles, room layout, or singer position.
Can weak batteries cause dropout even if the microphone still powers on?
Yes. A wireless microphone can still turn on and pass sound while becoming less reliable during actual use. Fresh batteries or a full recharge should be one of the first checks.
Should I move the receiver closer to the singer?
In many home karaoke setups, yes. The receiver does not need to be extremely close, but it should have a clearer and more open path to the singing area. A receiver hidden behind furniture or tucked behind a TV often performs worse.
Why does only one microphone cut out?
If one microphone drops out while another works normally in the same position, the problem may be tied to that specific microphone, battery, transmitter, or receiver channel. Test both microphones from the same spot before replacing anything.
Can wireless interference cause karaoke mic dropout?
Yes. Wireless clutter, crowded electronics, and certain room conditions can make dropout more likely. But check batteries, receiver placement, and distance first because those are easier to fix and more common in home setups.
When should I stop troubleshooting and replace the mic system?
Replacement becomes more reasonable if dropout continues after fresh batteries, better receiver placement, shorter test distance, firm receiver connections, and comparison testing with another mic or channel. By then, the issue is more likely tied to the mic system itself.


