EN: 800-928-4331
VN: 800-640-5888
Menu
Search
Personal menu
EN: 800-928-4331
VN: 800-640-5888
English
|
Vietnamese
EN
|
VI
Search store
Close
All
Massage Chairs
Karaoke
Mother’s Day Gifts
Father’s Day Karaoke Sale
Father’s Day Massage Chair Sale
Christmas & New Year Sale
Search
My account
My account
Close
Register
Log in
Shopping cart
Close
0
$0.00
You have no items in your shopping cart.
All Categories
Menu
Close
Karaoke
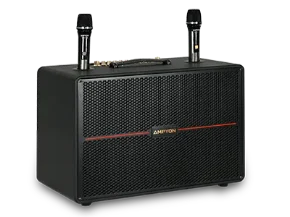
Karaoke Systems
Karaoke Speakers
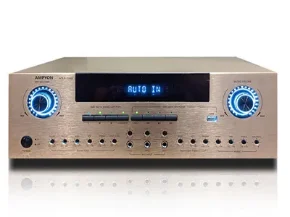
Mixing Amplifiers
Karaoke Microphones
Portable Karaoke
Open-Box & Clearance
Massage Chairs
Shop All Massage Chairs
Duo Massage Chairs
AI-Powered Massage Chairs
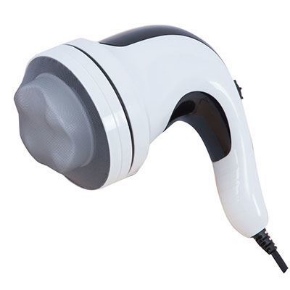
Personal Massagers
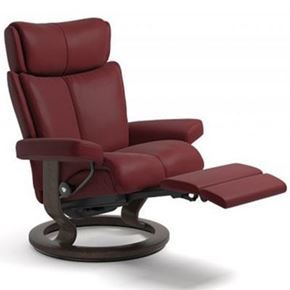
Recliners
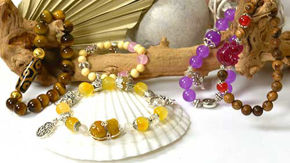
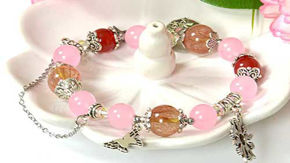
Healing Bracelets
All Bracelets
Charm Stone Bracelets
Agarwood Bracelets
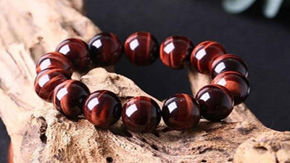
Stone Bracelets
Women Bracelets
Men Bracelets
Kids Bracelets
Father’s Day Karaoke Sale
Father’s Day Massage Chair Sale
Financing
Visit Showroom
Why Buy From Tittac
About us
Contact Us
Blog
All Categories
Back
Karaoke
Back
Karaoke Systems
Karaoke Speakers
Mixing Amplifiers
Karaoke Microphones
Portable Karaoke
Open-Box & Clearance
Massage Chairs
Back
Shop All Massage Chairs
Duo Massage Chairs
AI-Powered Massage Chairs
Personal Massagers
Recliners
Healing Bracelets
Back
All Bracelets
Charm Stone Bracelets
Agarwood Bracelets
Stone Bracelets
Women Bracelets
Men Bracelets
Kids Bracelets
Father’s Day Karaoke Sale
Father’s Day Massage Chair Sale
Financing
Visit Showroom
Why Buy From Tittac
About us
Contact Us
Blog
RSS
Blog posts of '2017' 'August'
Finance
×